

Introduction
A form, in its simplest guise, is a group of one or more fields used to collect information from users.
Working with forms can be complicated. Developers write HTML for the form, display error messages to inform users of any invalid fields, handle the data when it has successfully been submitted, and finally respond to the user in some way to indicate success.
Implementing this can be complex as the developer writes a lot of codes. Also, the more the input fields, the more complex the form is. This is where react-hook-form comes in.
React-Hook-Form is a library that solves the problems listed above and in this article, we would be using it to create and validate our form.
Prerequisite
To fully grasp what's happening step by step in this tutorial and to follow up by coding along, you will need the following
- React basics
- React hooks
- Microsoft visual studio code ( Vs code )
- nodeJs installed
- npm installed
Let's get started
The first step would be to create a new react application. Run the following command in the terminal to create a new application
npx create-react-app login
Once the application has been created, launch VS code and open the folder of the react-app we just created.
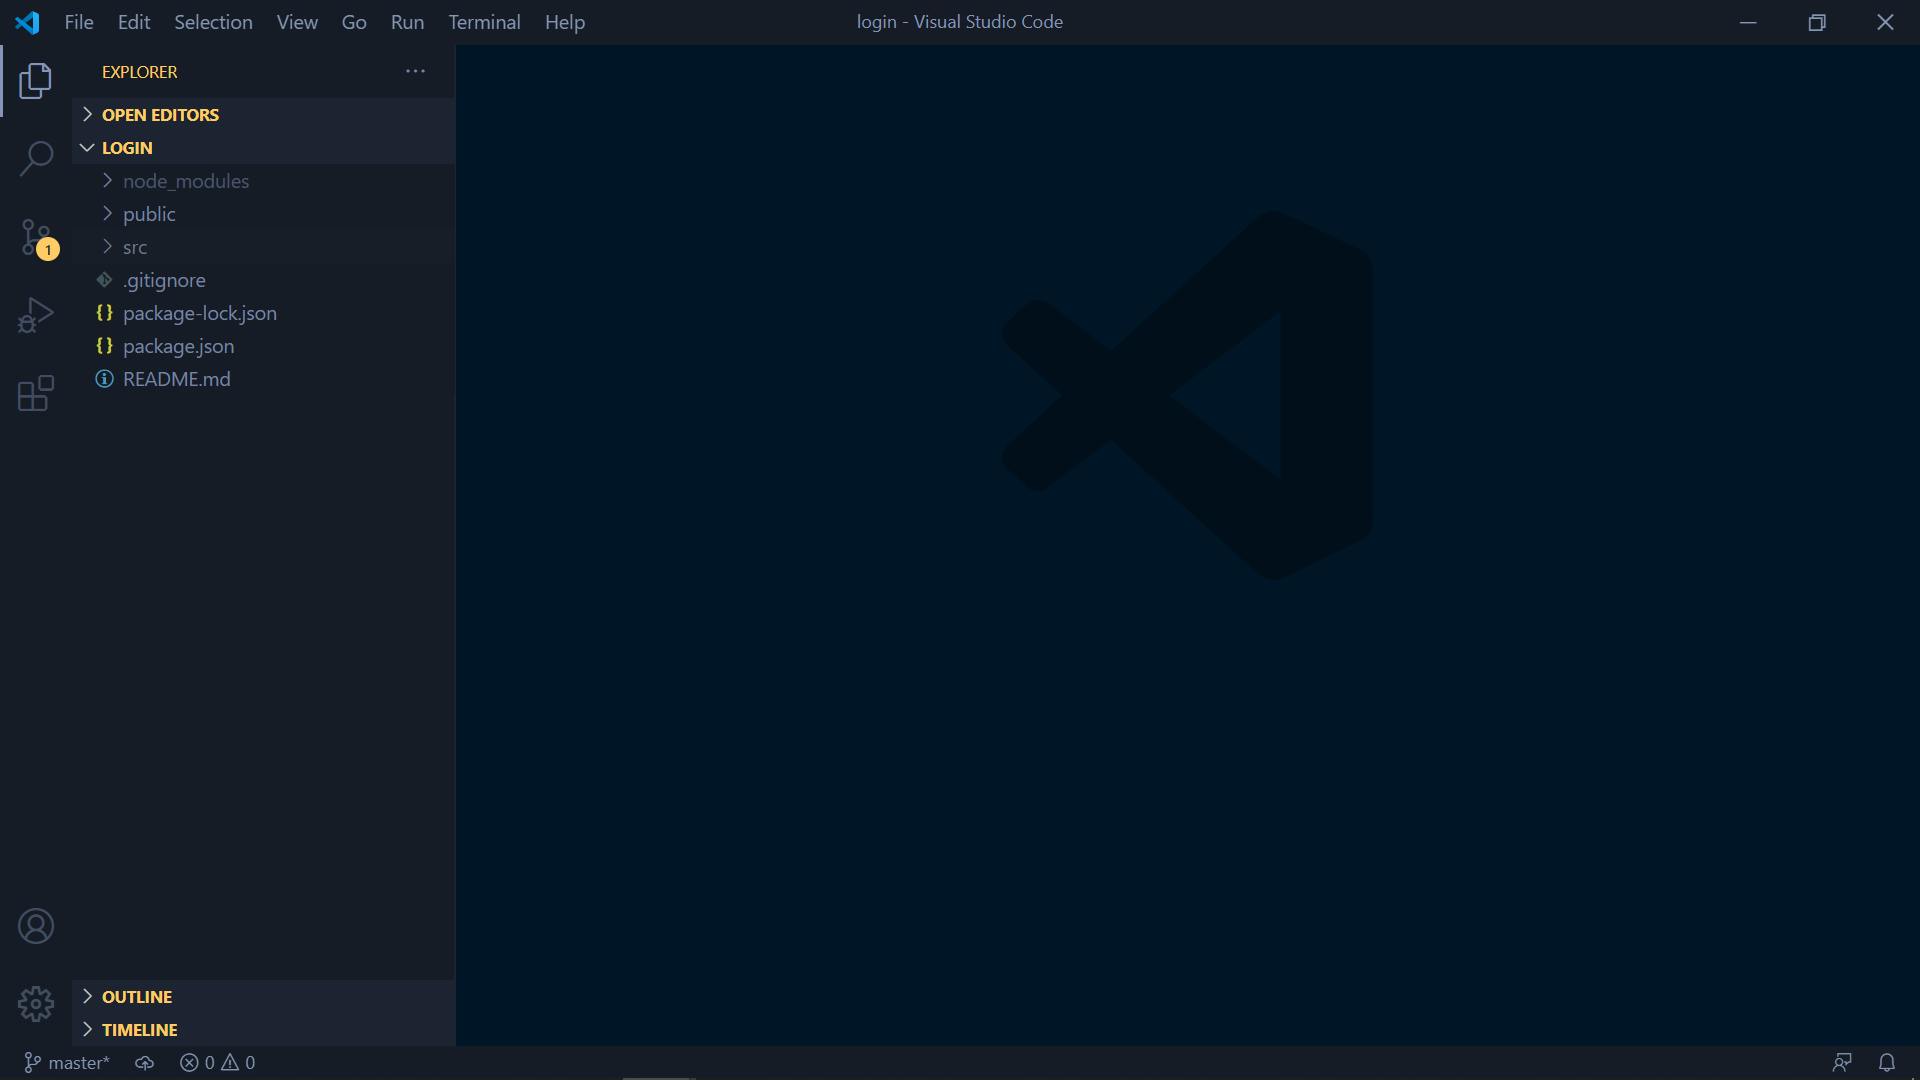
Vs code has an inbuilt terminal which we would be using throughout this article to do various stuff. The first one would be installing React-Hook-Form library. Open the terminal by pressing ctrl+shift+`, run the following command to install the library.
npm install react-hook-form
We would also need a css framework called bulma to help in styling.
npm install react-bulma-components
Now, we can write code and use react-hook-form
Creating the form
Create a new file "Form.jsx"
Open index.js and make the following changes
import React from 'react';
import ReactDOM from 'react-dom';
import './index.css';
import Form from './Form'
import reportWebVitals from './reportWebVitals';

ReactDOM.render(
  <React.StrictMode>
    <Form />
  </React.StrictMode>,
  document.getElementById('root')
);

// If you want to start measuring performance in your app, pass a function
// to log results (for example: reportWebVitals(console.log))
// or send to an analytics endpoint. Learn more: https://bit.ly/CRA-vitals
reportWebVitals();
Put the following codes inside Form.jsx
import React from "react";
import { useForm } from "react-hook-form";
import "react-bulma-components/dist/react-bulma-components.min.css";

function Form(props) {
  return (
    <div>
      <form>
        <div className="field">
          <input
            className="input"
            type="email"
            placeholder="Email"
          />
        </div>
        <div className="field">
          <input
            className="input"
            type="password"
            placeholder="Password"
          />
        </div>
        <div className="field">
          <p className="control">
            <button className="button is-success" type="submit">
              Login
            </button>
          </p>
        </div>
      </form>
    </div>
  );
}

export default Form;
Here, we added the email and password field to the form using react-bulma-components.
Integrating react-hook-form
The react-hook-form library provides a useForm hook that we would use with the form.
Import the useForm hook
import { useForm } from 'react-hook-form';
Inside the form function and below the return statement, put the code below
const { register, handleSubmit, } = useForm();
from the code above, we have;
register, a function we can use as a ref provided by the useForm hook. We would assign it to each input field so that the react-hook-form can track the changes for the input field value.
handleSubmit, the function we call when the form is submitted
Now, replace the contents of the Form.jsx file with the following code
import React from "react";
import { useForm } from "react-hook-form";
import "react-bulma-components/dist/react-bulma-components.min.css";

function Form(props) {
  const { register, handleSubmit } = useForm();

  const onSubmit = (data) => {
    console.log(data);
  };
  return (
    <div>
      <form onSubmit={handleSubmit(onSubmit)}>
        <div className="field">
          <input
            className="input"
            type="email"
            placeholder="Email"
            name="email"
            ref={register}
          />
        </div>
        <div className="field">
          <input
            className="input"
            type="password"
            placeholder="Password"
            name="password"
            ref={register}
          />
        </div>
        <div className="field">
          <p className="control">
            <button className="button is-success" type="submit">
              Login
            </button>
          </p>
        </div>
      </form>
    </div>
  );
}

export default Form;
In the above code, we have;
- given a ref to each input field that we got from the useForm hook.
ref={register}
- for each input field, we give a name which is necessary for react-hook-form to track the changing data.
name="email"
- the onSubmit function which is passed to the handleSubmit function.
<form onSubmit={handleSubmit(onSubmit)}>
When we submit the form, the handleSubmit function handles;
the form submission
send the user entered data to the onSubmit function which we’re logging to the console.
Now, we can run our code to see what we've done so far.
Open the VS code terminal and type the following
npm start
If we open our console from the browser, we should see the data we entered into the form.
Adding validation
Validations test if the input from the user meets the developers criteria for the fields. If it doesn't, an error is displayed to the user and they make corrections to the data passed.
To display these errors, react-hook-form has a function called "errors" which we would add to the useForm hook. Our useForm hook should look like this
const { register, handleSubmit, errors } = useForm();
To add validation we would pass our logic to register function which is passed as a ref to each input field.
Let’s add the required field and minimum length validation to the input fields.
  <input
            className="input"
            type="email"
            placeholder="Email"
            name="email"
            ref={register({
              required: true,
              pattern: /^[^@ ]+@[^@ ]+\.[^@ .]{2,}$/,
            })}
            style={{ borderColor: errors.email && "red" }}
          />
        </div>
        <div className="field">
          <input
            className="input"
            type="password"
            placeholder="Password"
            name="password"
            ref={register({
              required: true,
              minLength: 9,
            })}
            style={{ borderColor: errors.password && "red" }}
          />
        </div>
If the validation fails, the input border color turns red to show the user that there's an error in the data submitted while also highlighting the input where there is an error.
You can check your form on the browser at this point to see if the implementation is working.
NOTE: we can also use this logic for other text fields in other forms e.g first name , last name etc.
Displaying errors
So far, we can validate our forms and show our users that they have to input the correct data.
However, we have failed to specifically tell them what needs to be done to correct the errors they have made.
React-hook-form has a feature called mode which helps in displaying validation errors to the user depending on the mode the developer selects. This feature is great because the user doesn't have to submit the form before the validation fails. In this article, we would be using the "onChange" mode which display errors as the user types. Our useForm hook should now look like this
const { register, handleSubmit, errors, formState } = useForm({
    mode: "onChange",
  });
When the validation fails as the user types, the errors object coming from useForm will be populated with the fields for which the validation has failed.
Open the Form.jsx file and replace its content with these codes
import React from "react";
import { useForm } from "react-hook-form";
import "react-bulma-components/dist/react-bulma-components.min.css";

function Form() {
  const { register, handleSubmit, errors } = useForm({ mode: "onChange" });

  const onSubmit = (data) => {
    console.log(data);
  };
  return (
    <div>
      <form onSubmit={handleSubmit(onSubmit)}>
        <div className="field">
          <input
            className="input"
            type="email"
            placeholder="Email"
            name="email"
            ref={register({
              required: true,
              pattern: /^[^@ ]+@[^@ ]+\.[^@ .]{2,}$/,
            })}
            style={{ borderColor: errors.email && "red" }}
          />
          {errors.email && errors.email.type === "required" && (
            <small>Email is required.</small>
          )}
          {errors.email && errors.email.type === "pattern" && (
            <small>Email is not valid.</small>
          )}
        </div>
        <div className="field">
          <input
            className="input"
            type="password"
            placeholder="Password"
            name="password"
            ref={register({
              required: true,
              minLength: 9,
            })}
            style={{ borderColor: errors.password && "red" }}
          />
          {errors.password && errors.password.type === "required" && (
            <small> password is required.</small>
          )}
          {errors.password && errors.password.type === "minLength" && (
            <small> password is too short </small>
          )}
        </div>
        <div className="field">
          <p className="control">
            <button className="button is-success" type="submit">
              Login
            </button>
          </p>
        </div>
      </form>
    </div>
  );
}

export default Form;
From the above code, we display an error to the user depending on our logic created (using ref) for the user to have a correct input. So as you type in any field, validation errors are displayed.
Also, the form won't submit if there's a validation error
Conclusion
In this article, we did the following;
create a form using bulma.
use react-hook-form for form validation.
However, there's more to react-hook-form that wasn't covered in this article because I wanted to make this article at short as I can while passing the knowledge that was most important. You will have to read the react-hook-form docs for more insights.
Thanks for reading.